In Casedo you can add a table of contents for your Casefile. This feature is aimed to let you navigate through your files and folders by listing them with their commencing highlights, comments, bookmarks and page numbers.
You can do this in 5 simple steps:
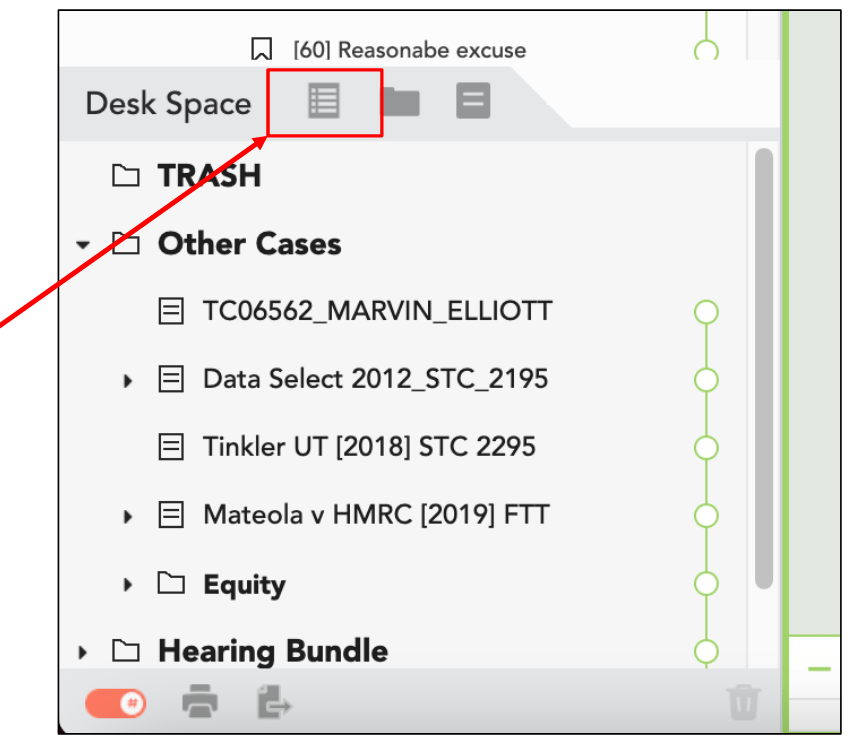
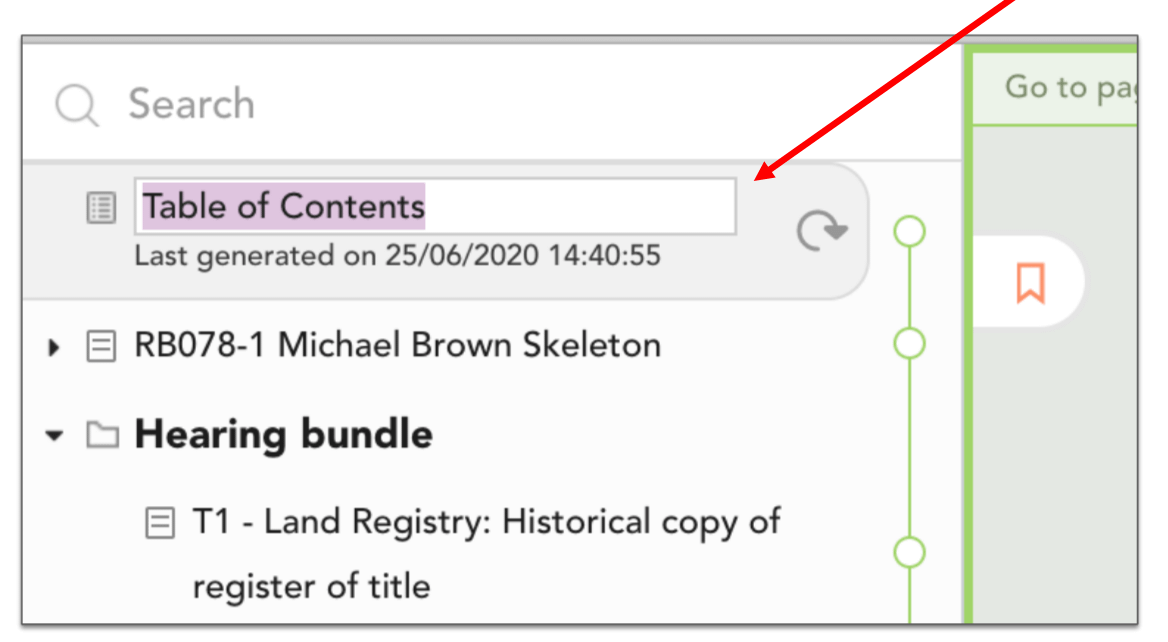
1. Click on the table of contents button located in your Desk Space as shown.
2. Casedo will generate an empty table of contents in the Desk Space.
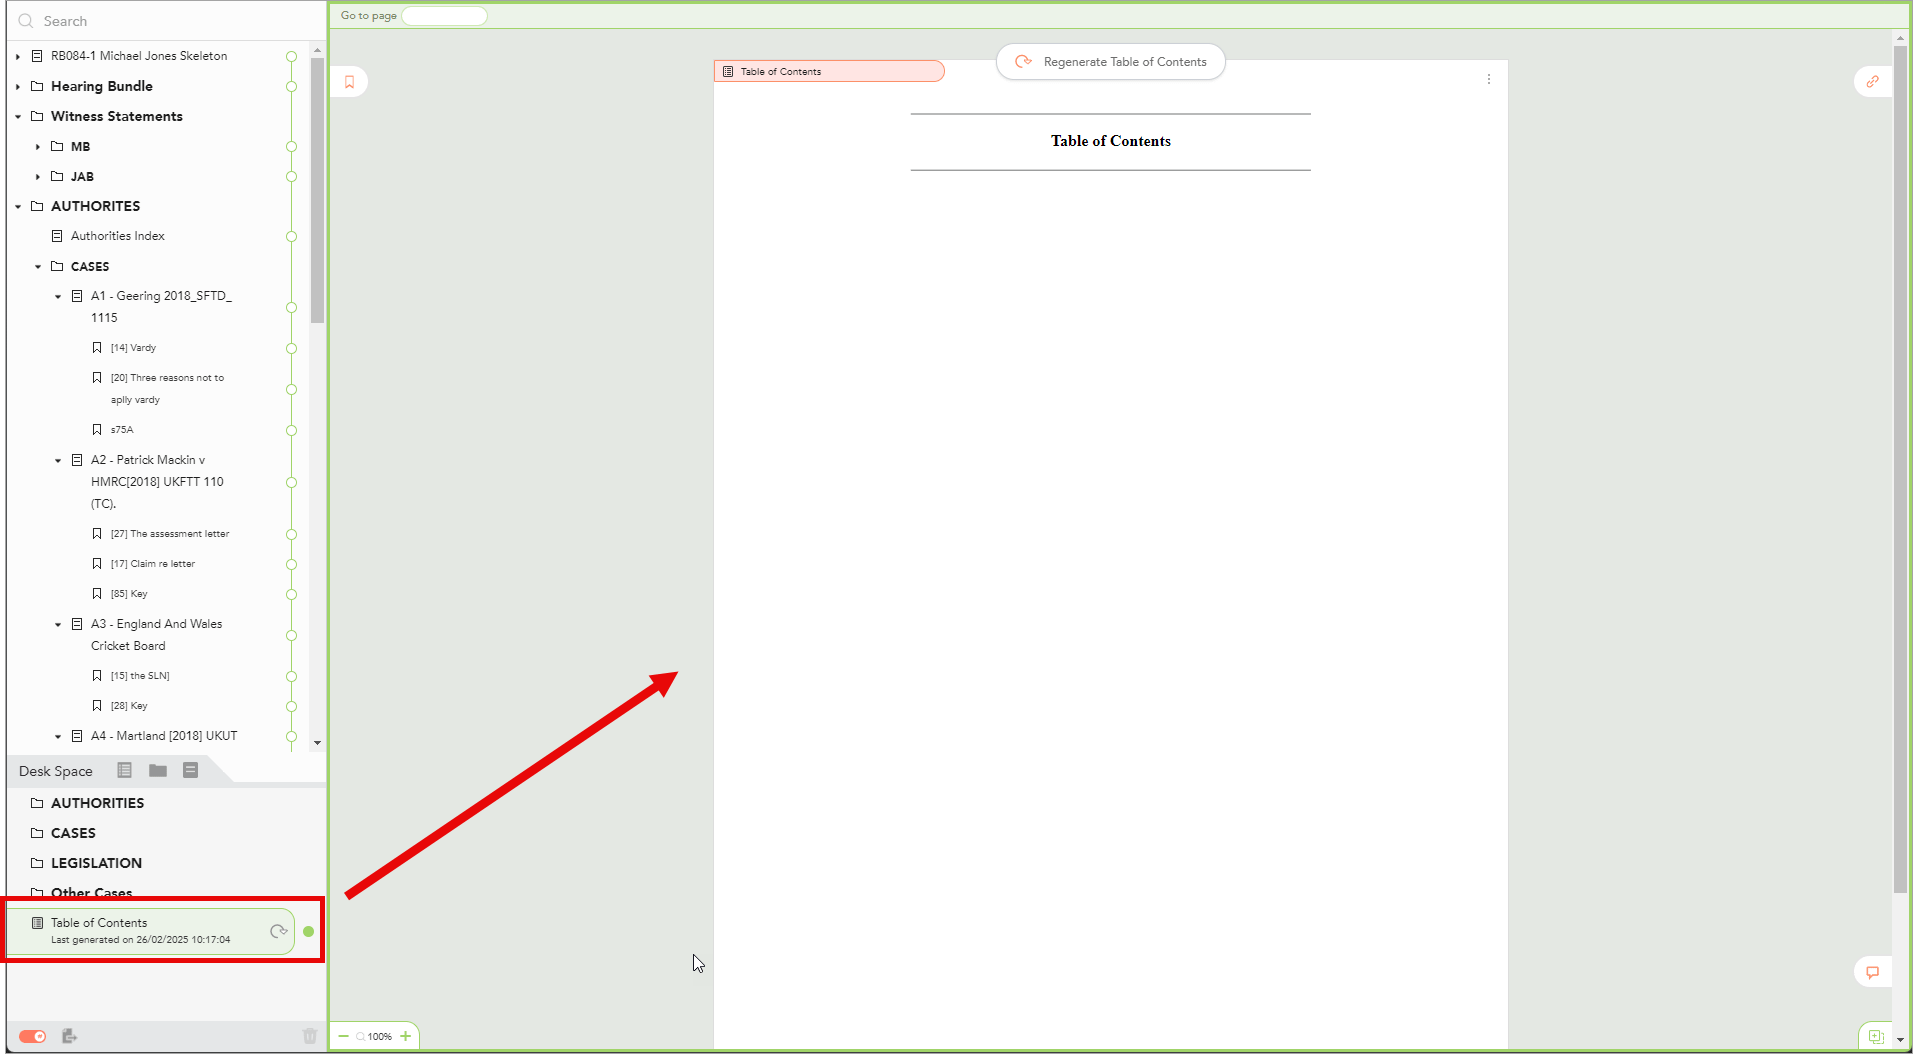
The newly created table of contents is empty because there are no documents below it and because it has not been regenerated.
3. You can now move the table of contents to the required position (usually at the top of your Index).
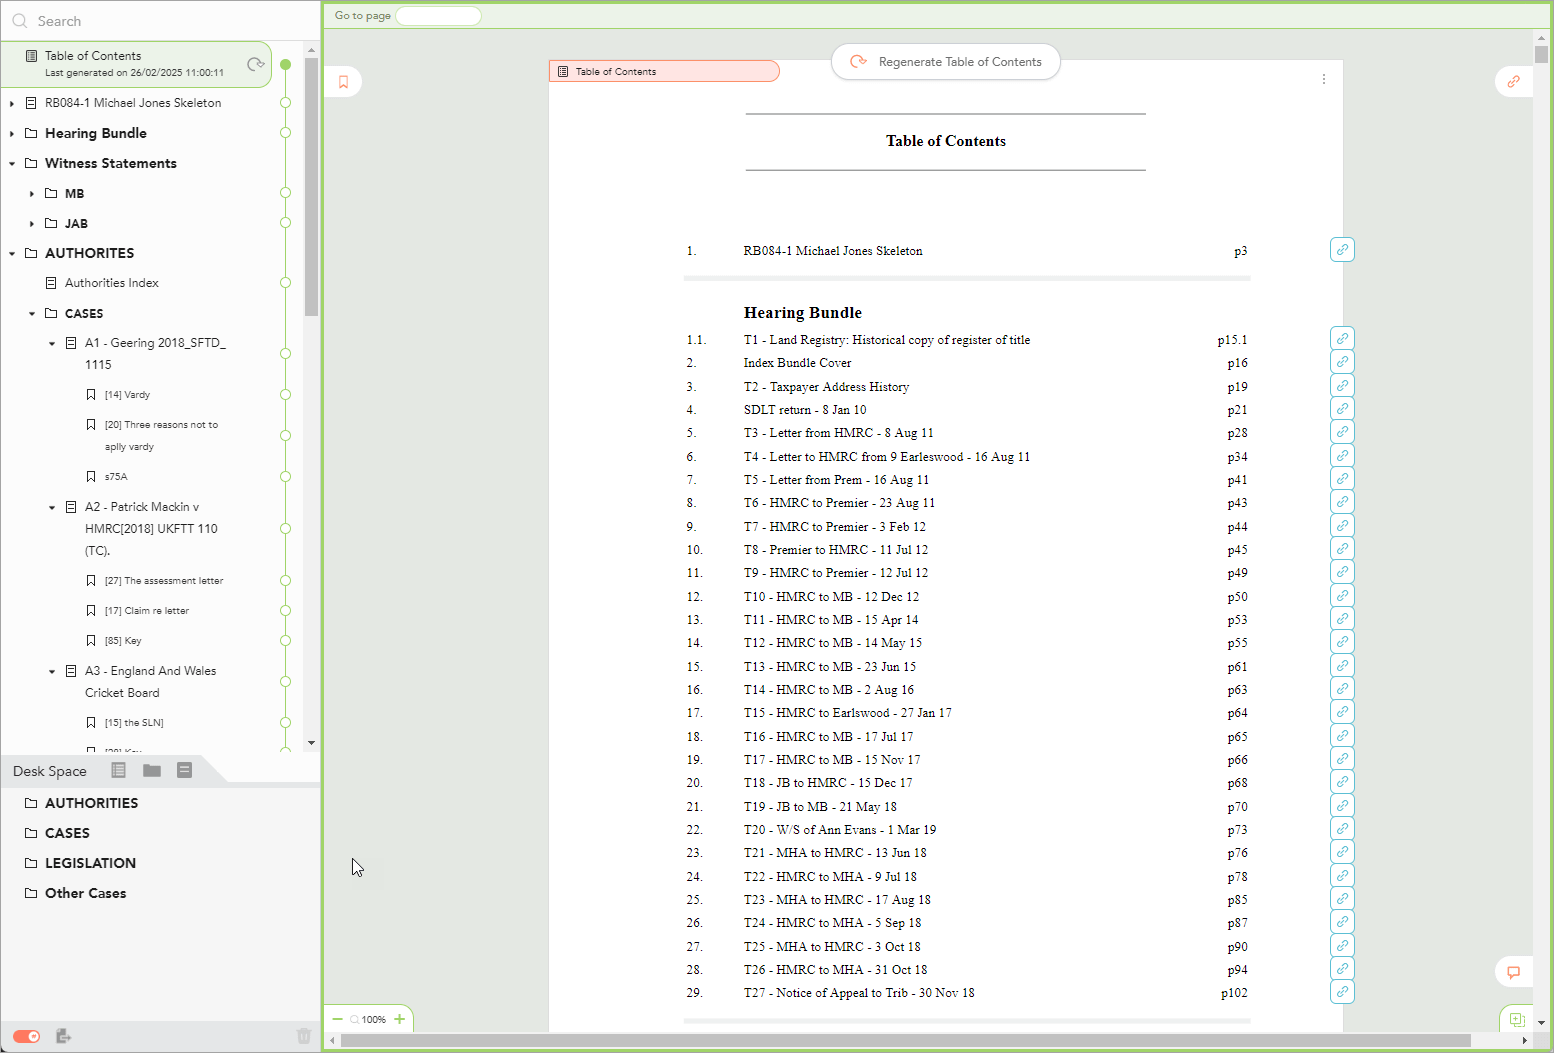
4. The table of contents is still empty. To populate it, click either of the clockwise arrows to Regenerate Table of Contents.

The table of contents will then be populated.
NB. In Casedo the table of contents pages themselves are never given visible page numbers on the bottom right of the page. Also by default, the table of contents pages are not included in the pagination. In other words, by default the first page following the table of contents is always page one, however long the table of contents itself is. This can lead to a mismatch between written and actual page numbers when a Casedo casefile is exported to PDF. If the table of contents pages need to be included in the page count, use the Pagination Start Page feature.
5. If required, you can rename the title of the table of contents by clicking on it.
You can add line breaks to the table of contents by typing \n. For more information on this see How to add line breaks to a Table of Contents title.
To learn more about the table of contents feature, see Advanced Table of Contents.
Last Updated on February 26, 2025
First Published on July 29, 2020
In Casedo you can add a table of contents for your Casefile. This feature is aimed to let you navigate through your files and folders by listing them with their commencing highlights, comments, bookmarks and page numbers.
You can do this in 5 simple steps:
1. Click on the table of contents button located in your Desk Space as shown.
2. Casedo will generate an empty table of contents in the Desk Space.
The newly created table of contents is empty because there are no documents below it and because it has not been regenerated.
3. You can now move the table of contents to the required position (usually at the top of your Index).
4. The table of contents is still empty. To populate it, click either of the clockwise arrows to Regenerate Table of Contents.
The table of contents will then be populated.
NB. In Casedo the table of contents pages themselves are never given visible page numbers on the bottom right of the page. Also by default, the table of contents pages are not included in the pagination. In other words, by default the first page following the table of contents is always page one, however long the table of contents itself is. This can lead to a mismatch between written and actual page numbers when a Casedo casefile is exported to PDF. If the table of contents pages need to be included in the page count, use the Pagination Start Page feature.
5. If required, you can rename the title of the table of contents by clicking on it.
You can add line breaks to the table of contents by typing \n. For more information on this see How to add line breaks to a Table of Contents title.
To learn more about the table of contents feature, see Advanced Table of Contents.
Last Updated on February 26, 2025
First Published on July 29, 2020