This guide will show you how to create a bundle in Casedo (whether court bundles or other types) in half a dozen easy steps. If you want a more detailed look at any of the steps below, search for what you need on our Support Page.
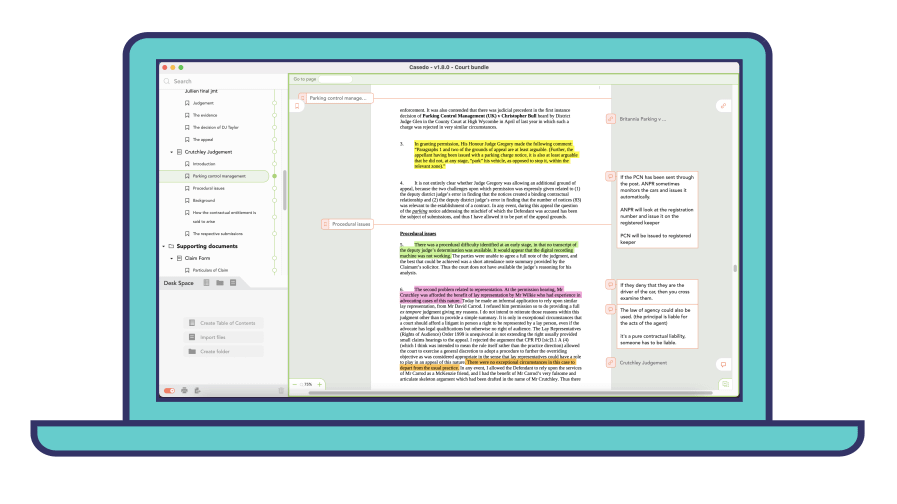
Table of Contents
1. Create a new Casefile
2. Import documents
3. Organise your documents
4. Paginate your bundle
5. Add a Table of Contents
6. Export your bundle to PDF
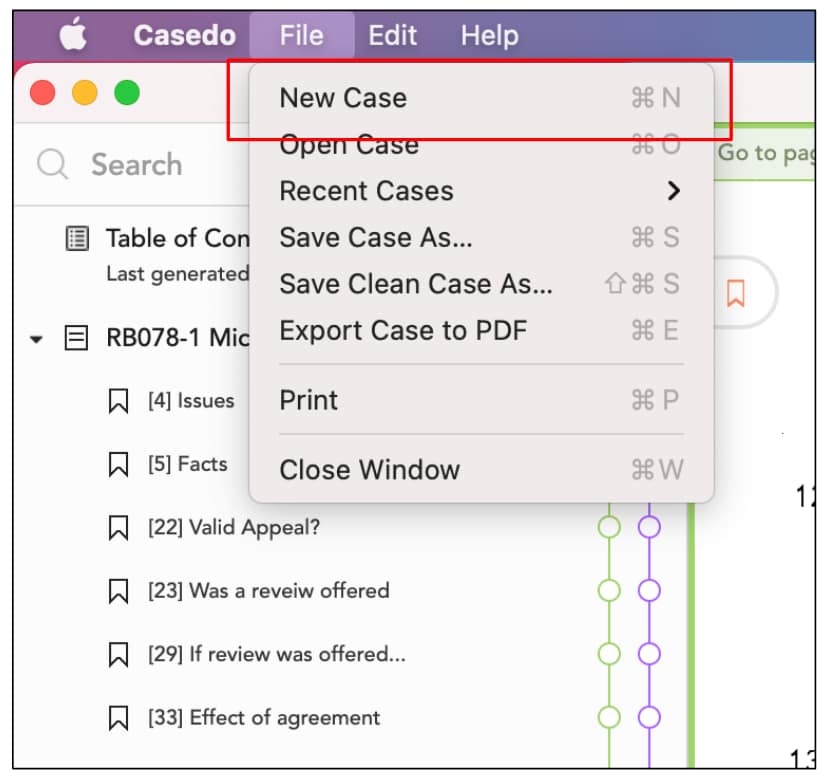
1. Create a new Casefile
Open Casedo and select ‘New Case File’
2. Import documents
Next thing you want to do is import the files stated in the Index Document. After having imported all of these files, they can be organised appropriately. Dropping the cases under a “Cases” folder, and legislations under a “Legislations” folder.
You can import your documents in two ways:
a. You can do this by either clicking on the ‘Import’ button located in your Desk Space.
b. Or, through dragging and dropping your documents into your Desk Space.
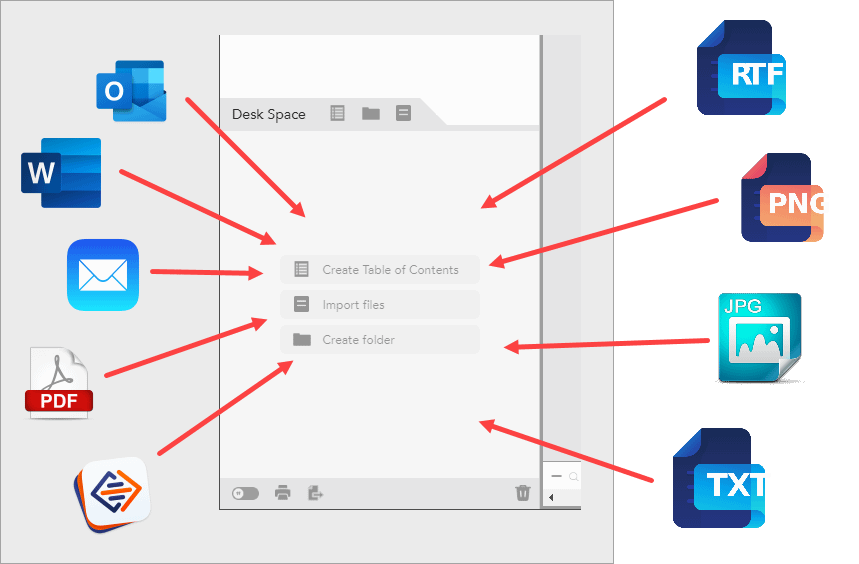
With Casedo you can simultaneously import multiple documents into your bundle as well as importing all bookmarks attached to those documents. For more information on what different image and document formats Casedo can import, see Importing documents and images into Casedo.
Do you need to add a cover page to your bundle? If so, take a look at How to add a Cover Page to your Casefile.
3. Organise the documents
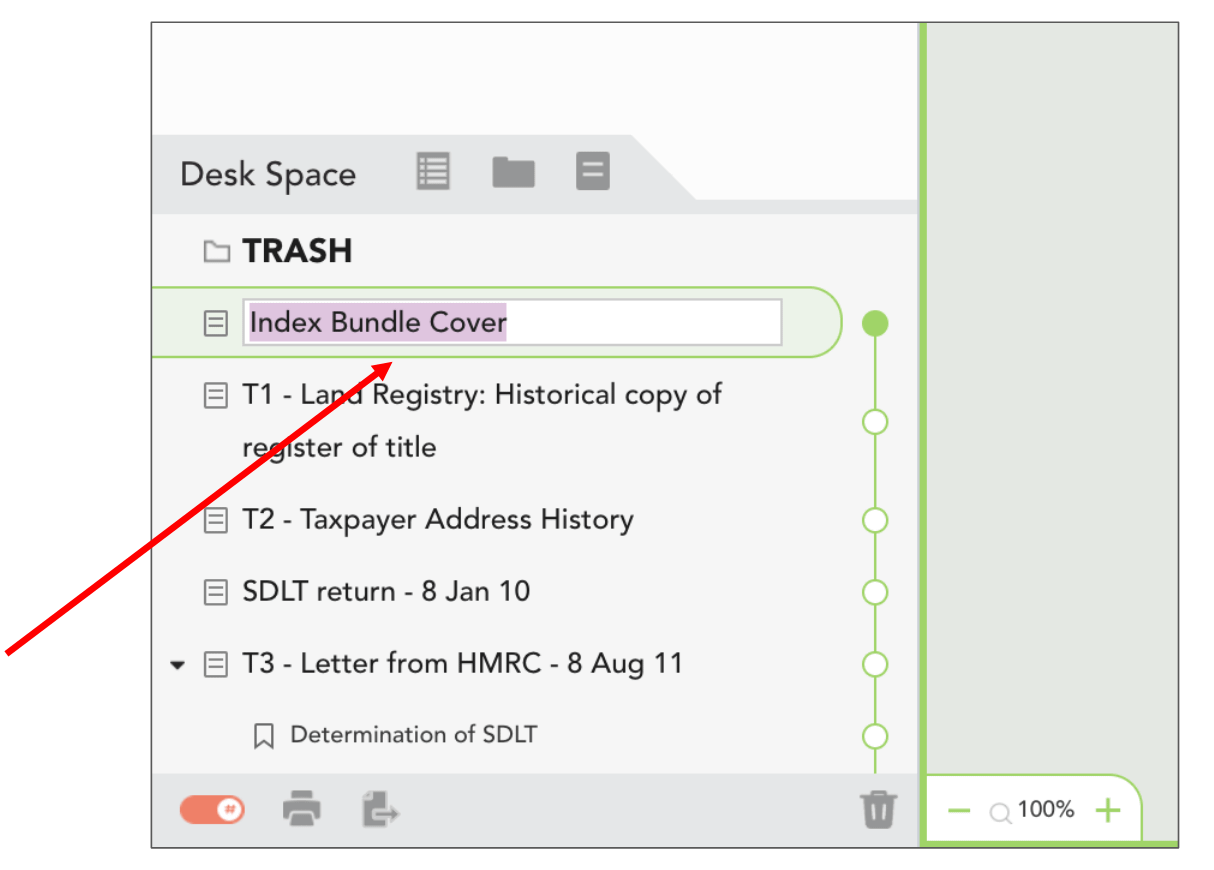
a) Rename the documents
a. To rename document, double-click on the document.
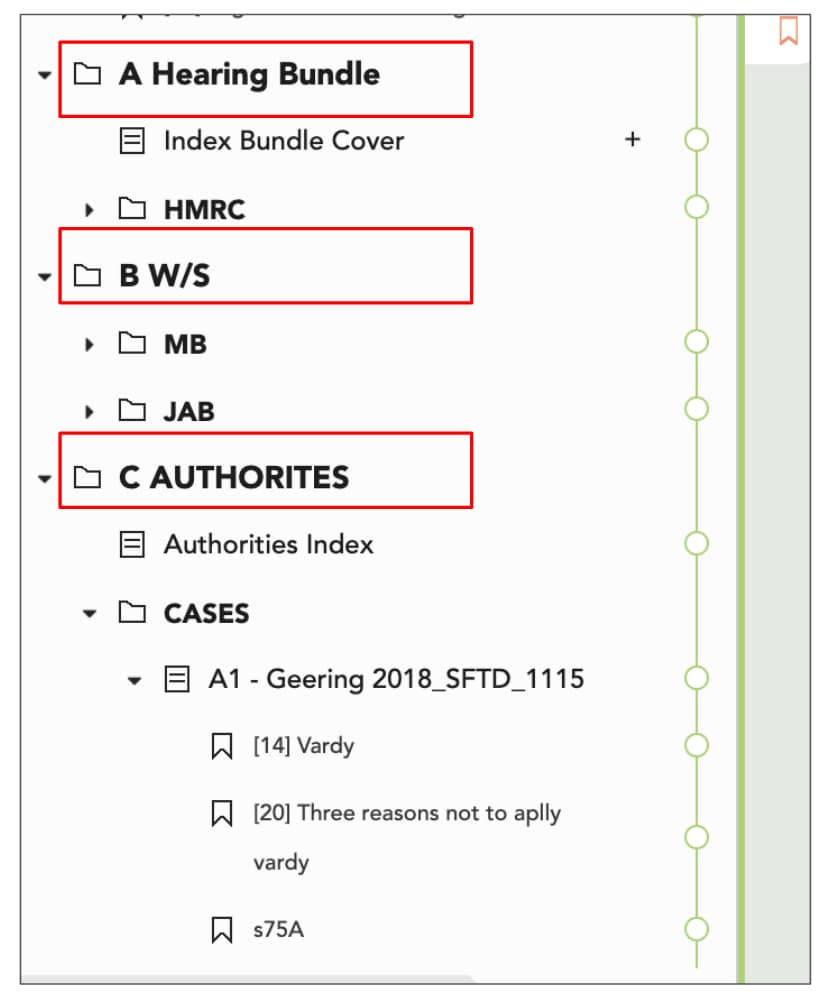
b) Add Folders
i. Add folders to divide your bundle into sections by clicking the ‘Add folder button’, naming the folder, and dragging documents to it.
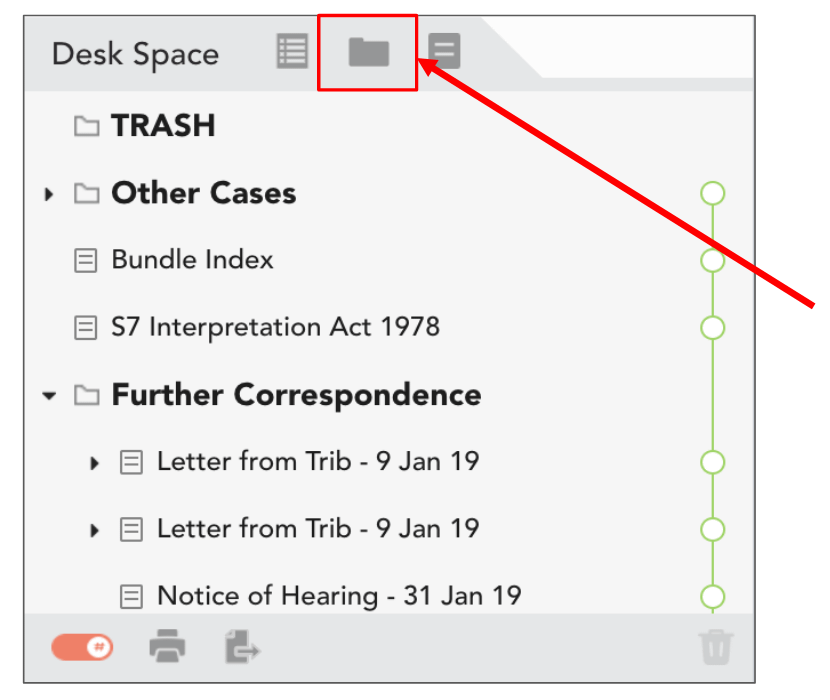
ii. Drag the documents and folders into Index, and you can then order your documents within your workspace.
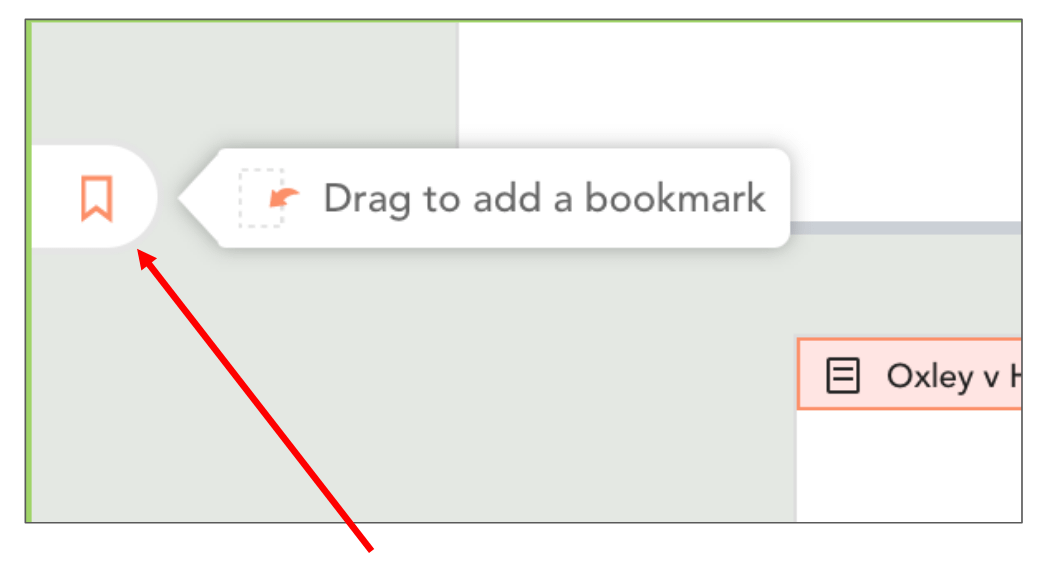
c) Add Bookmarks
With Casedo you can add bookmarks throughout your documents, and label them as you see fit. With this, you can break down files and access the key areas with ease.
To add a bookmark, simply click on the bookmark button located on the top left of your viewer screen and drag it anywhere in the document. (You must click and drag onto the document and not outside)
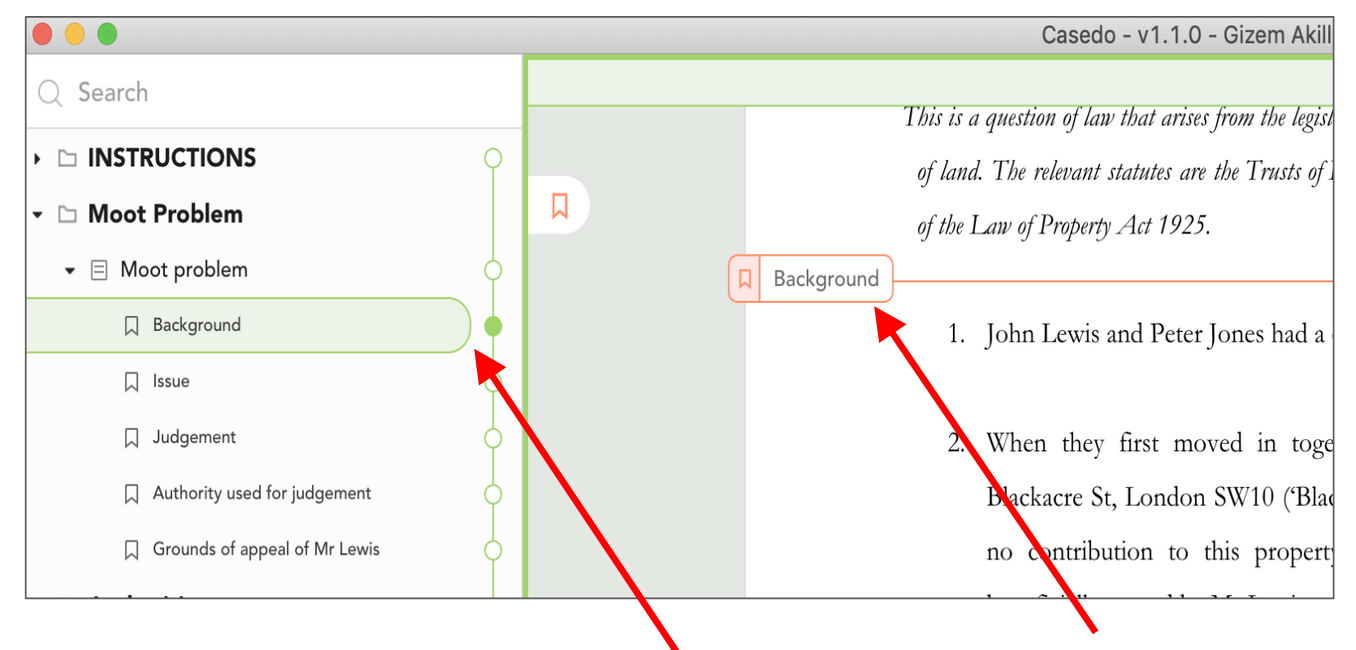
This will insert a bookmark in the specific segment of your document. Your bookmark will also appear in your Index just under the file it was created in. You can now label the bookmark and have easy access to essential areas.
Also
- If you want to rename the bookmark, simply double-click the bookmark you want to change and erase the previous label.
- If you want to relocate the bookmark, simply click and drag the existing bookmark. If you want to relocate it to a completely new page you will have to delete the bookmark and create a new one on your desired page.
You can at any point delete your bookmarks as easily as you created them.
4. Paginate your bundle
Casedo has a number of pagination features, here are the most useful to get you started.
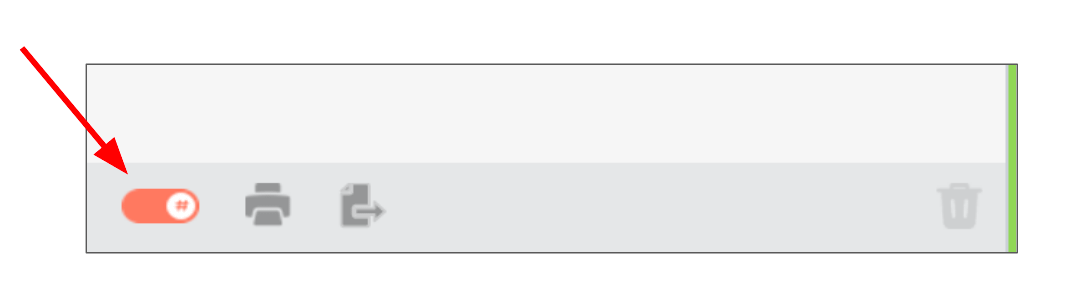
First and foremost in order to create the following court bundle, you will need to turn on your pagination, this feature allows you to navigate through your Casefile easily and effectively.
By turning on the pagination, Casedo numbers all of your pages according to the organisation of your documents.
To turn on the pagination simply click on the toggle switch as shown:
Folder-based pagination
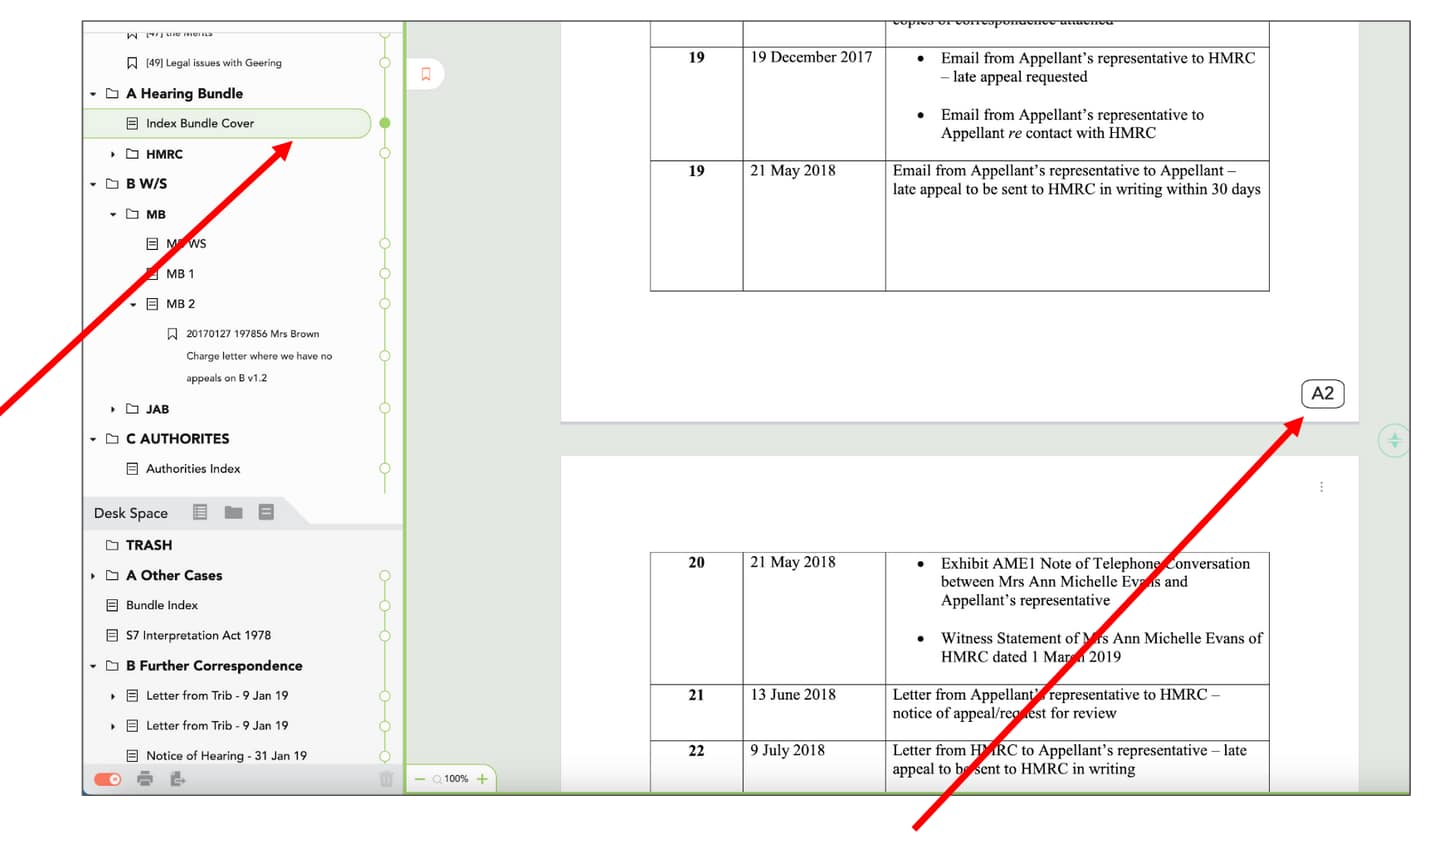
However, it is normal practise to paginate cases separately to legislation. You might want to have two separate folders. For example, you might want to have a bundle A for legislation and a bundle B for cases authorities. To do that go to the main menu, select Edit > Toggle Pagination Type’.

This takes the top level folders and assigns them a letter, as shown below.
Everything in that folder separately gets assigned a prefix. For example now the content in the A folder will start from A1 and the content in the B folder will start from B1.
And if you no longer want that you can simply press on the ‘toggle pagination type’ and this will take it back to the original pagination style.
Casedo comes with more advanced pagination features, such as, excluding documents from pagination and paginating documents as an insert.
5. Add a Table of Contents (TOC)
In Casedo you can add a table of contents to your Casefile. This feature is aimed to let you navigate through your files and folders by listing them with their commencing highlights, comments, bookmarks and page numbers.
You can do this in 5 simple steps:
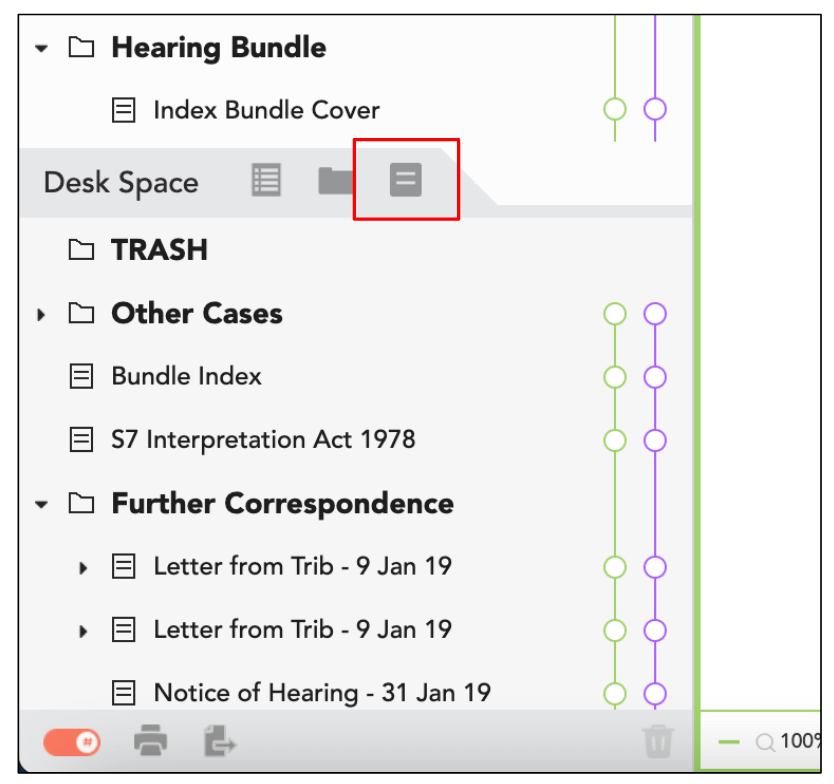
1. Click on the table of contents button located in your Desk Space as shown.
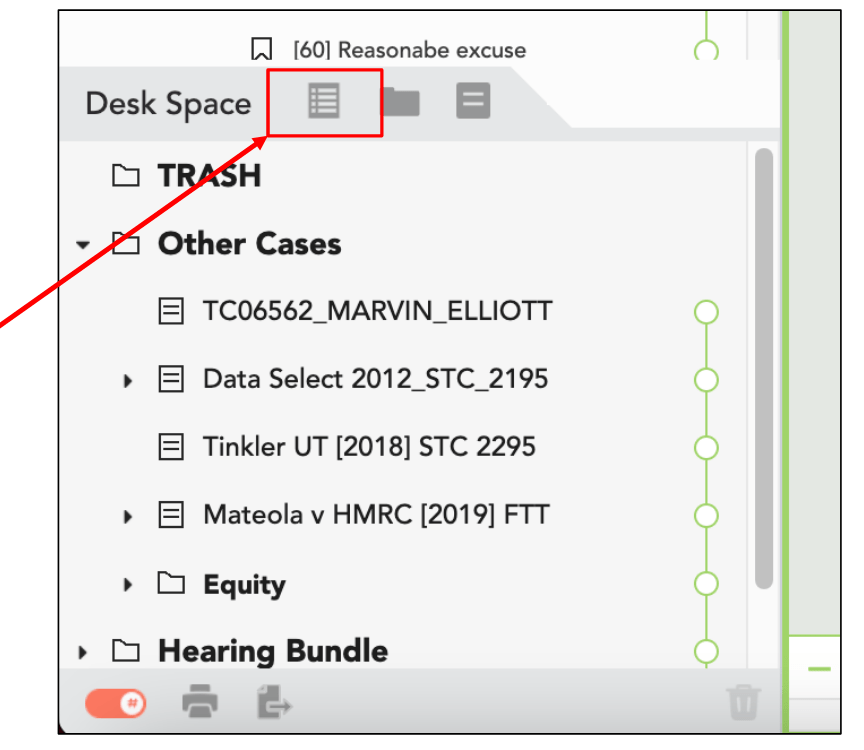
2. Casedo will create an empty table of contents in the Desk Space.
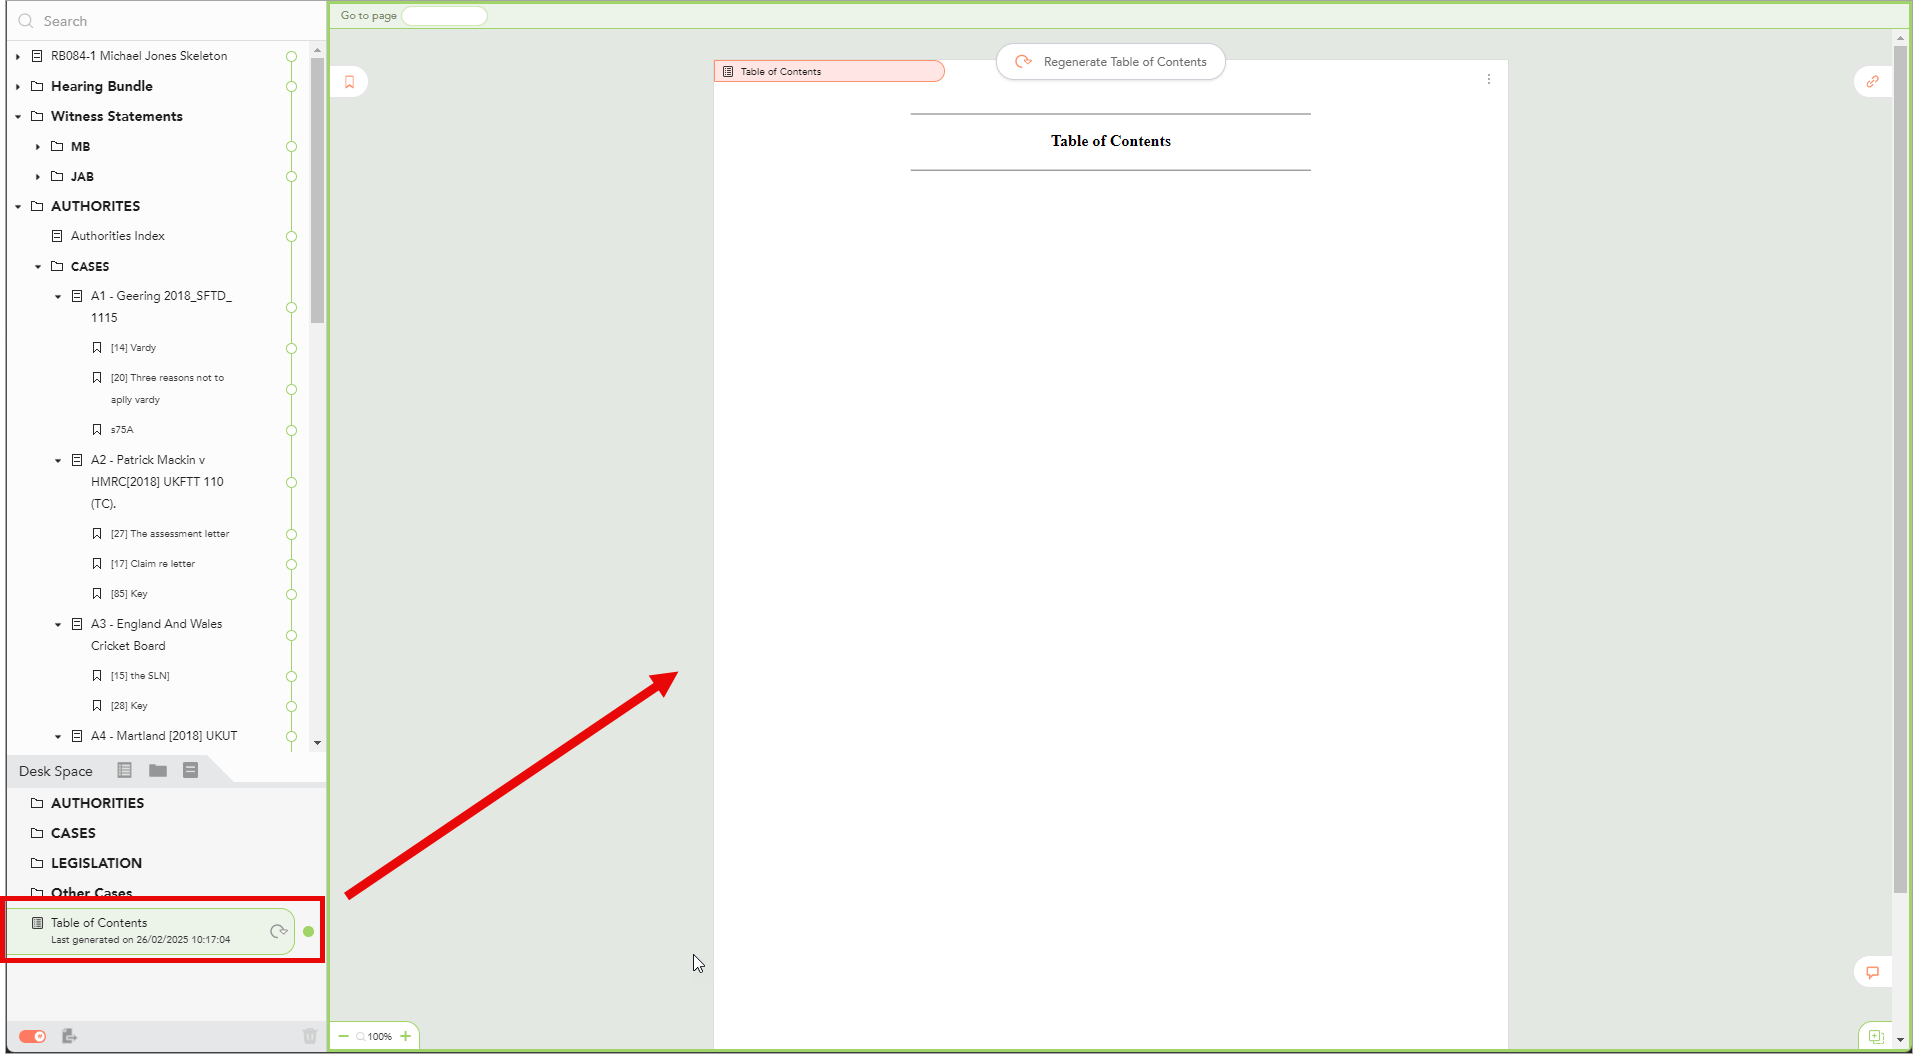
The newly created table of contents is empty because there are no documents below it and because it has not been regenerated.
3. You can now move the table of contents to the required position (usually at the top of your Index).
4. The table of contents is still empty. To populate it, click either of the clockwise arrows to Regenerate Table of Contents.
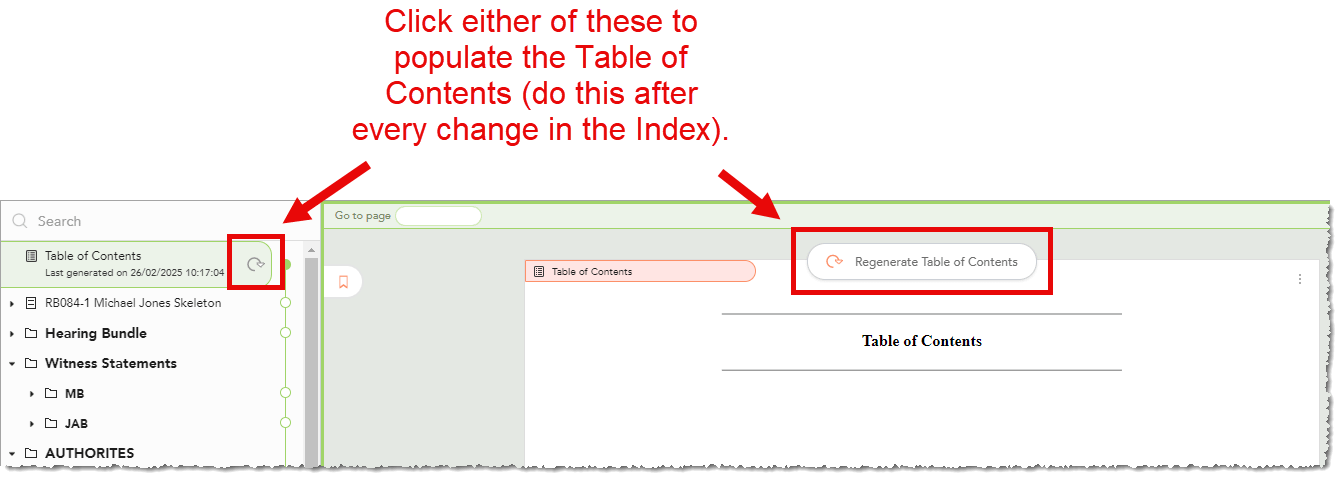
The table of contents will then be populated.
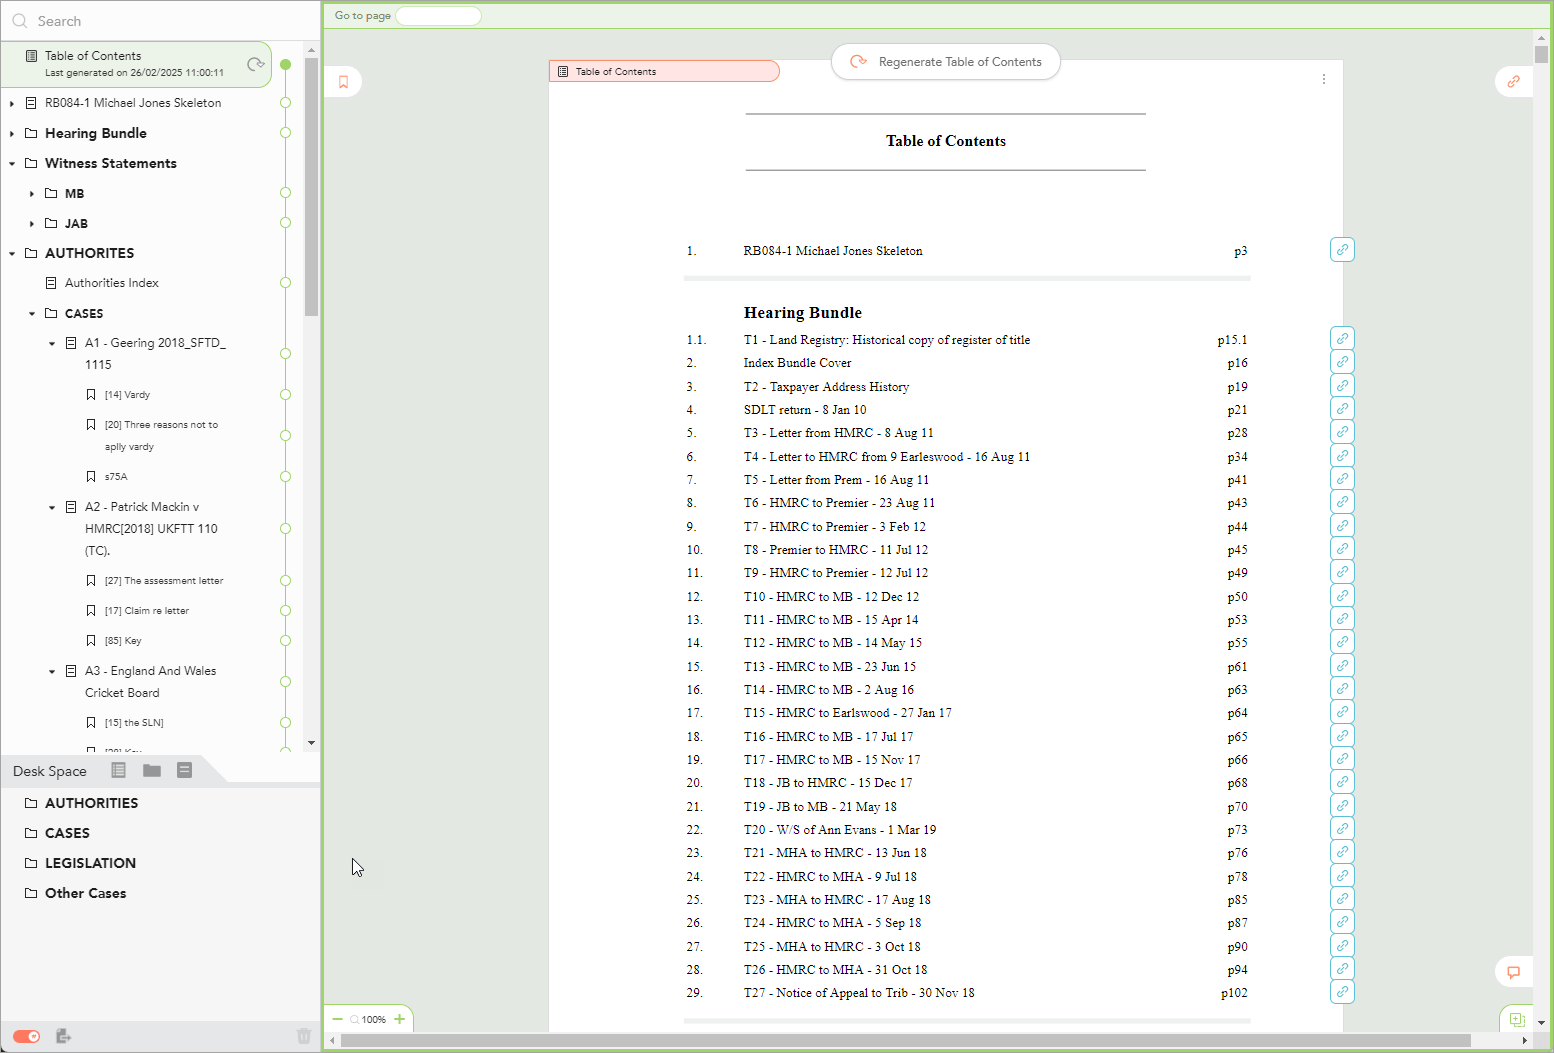
NB. In Casedo the table of contents pages themselves are never given visible page numbers on the bottom right of the page. Also by default, the table of contents pages are not included in the pagination. In other words, by default the first page following the table of contents is always page one, however long the table of contents itself is. This can lead to a mismatch between written and actual page numbers when a Casedo casefile is exported to PDF. If the table of contents pages need to be included in the page count, use the Pagination Start Page feature.
To learn more about the table of contents feature, see Advanced Table of Contents.
5. If required, you can rename the title of the table of contents by clicking on it.

You can add line breaks to the table of contents by typing \n. For more information on this see How to add line breaks to a Table of Contents title.
6) Export your bundle to PDF
With Casedo, you can export your Casefile into PDF. You can choose to export them to include either all bookmarks, or double-sided printing, or both. Doing this is as simple as switching on a toggle switch.
Before exporting your PDF, make sure that the documents you want to be included in your PDF are located in your Index and NOT in your Desk Space. Any documents in your Desk Space are for your private use only and do not form your bundle. Your Desk Space essentially acts as a holding area for your unsorted documents. Another exciting addition to the Table of Contents (TOC) feature, links are automatically added to the list items. You can now very simply add your Casefile annotations to the TOC, making it very easy to navigate the areas of the document you need.
To export your Casefile to PDF
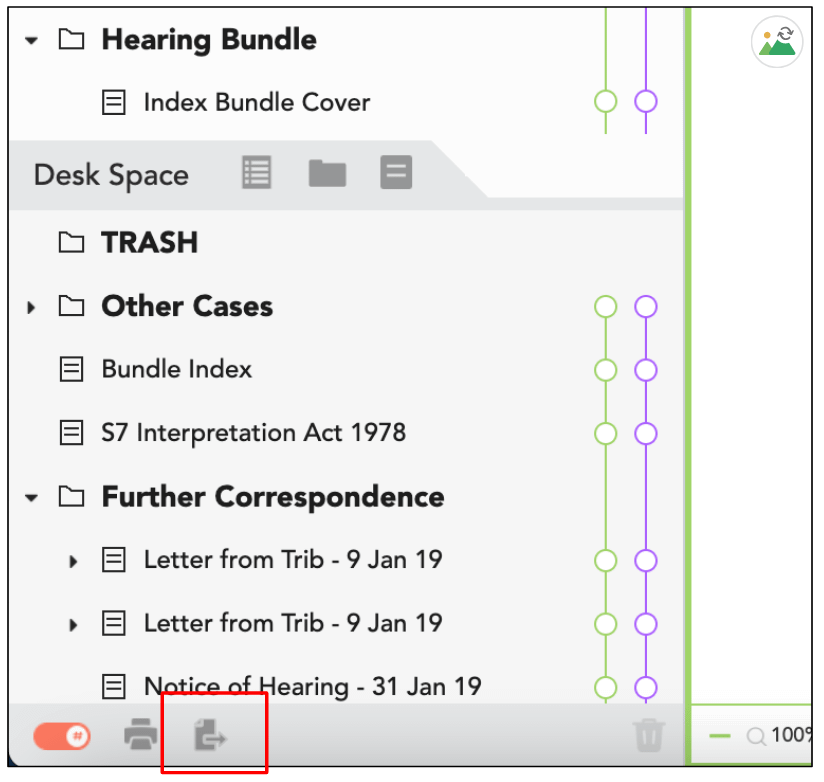
1. Click on the ‘Export to PDF’ button
You can either export your Casefile through the Export to PDF button located at the right side of your Desk Space.
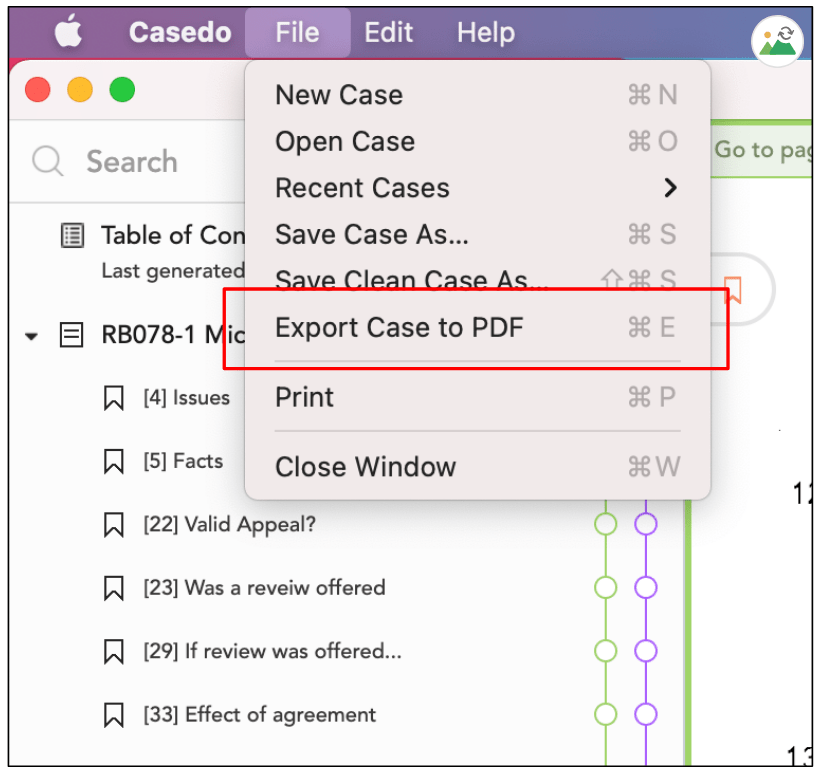
Or from the ‘File’ menu find ‘Export Case to PDF’.
2. You will then get a window that looks like the one shown below. Choose the appropriate option for you.
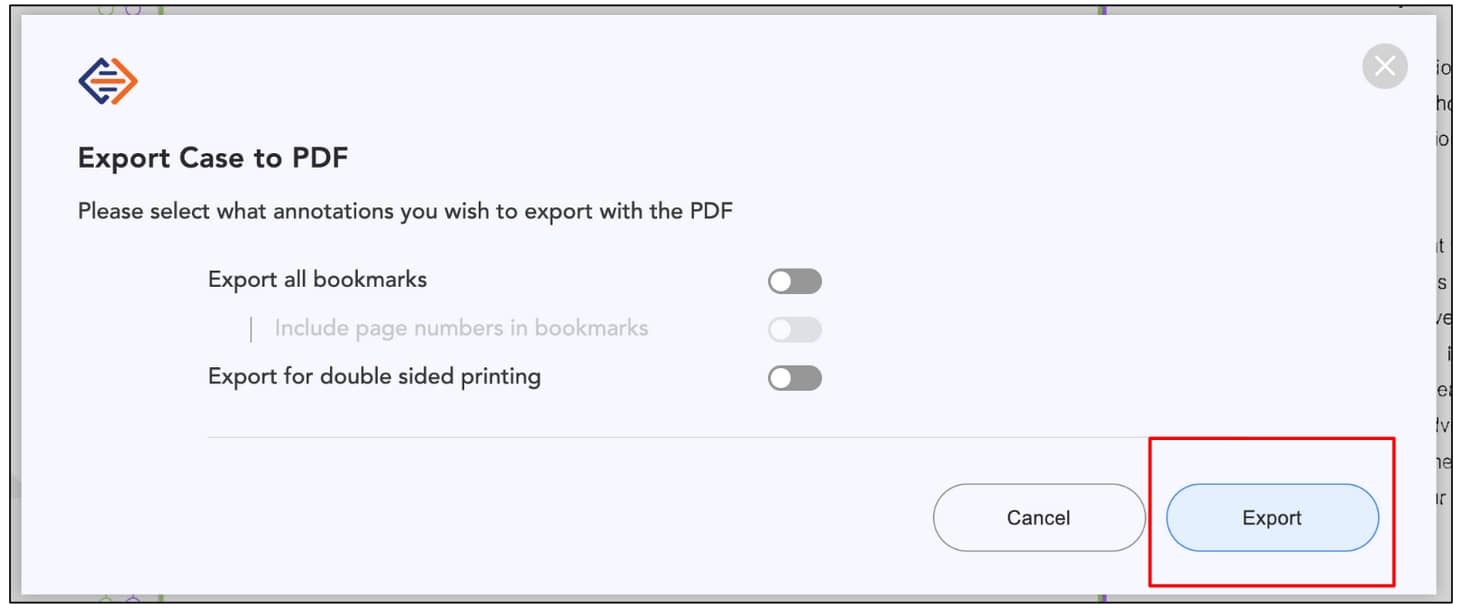
3. Now simply click on ‘Export’ and save your PDF.
There are numerous other support articles about creating bundles to be found by going to our support page Support Page and typing ‘bundle’ in the search box, or simply click here to see all the bundle-related articles we have.
Last Updated on February 26, 2025
First Published on March 24, 2023